This is the first recipe on our blog and is a special one for us.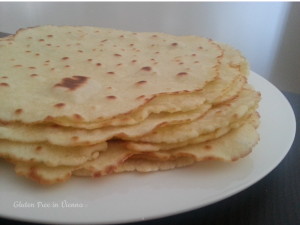
When our daughter was diagnosed with coeliac disease she was eating bread every day and flour tortillas every other day.
In Vienna you can have Mexican flour tortillas or Durum flour tortillas and we were eating a lot of them both. The reason was that we enjoyed everything that was wrapped: burritos, donner, schawarma and we always thought that we can make them better at home. And we did.
But when you live a gluten free life, the wraps on the go are out of the question and on top of that a gluten free flour tortillas costs as much as a cheap donner.
Obviously homemade gluten free tortillas was one of the first gluten free recipes that we searched in books and on the internet.
I must say that we were quite disappointed with the results. I am sorry that I did not take pictures of the various type of gluten free cardboards that we cooked.
And when all hope was lost, I came across the thecafesucrefarine blog and there was a recipe that worked for us with only one adjustment.
If you like flour tortillas you have to try this recipe:
Best Gluten Free Flour Tortillas (8 big Tortillas or 16 small)
360 g bread gluten free flour
2 tablespoons baking soda
1 tablespoon salt
80 ml vegetable oil (we use 20 ml extra virgin olive oil and 60 ml sunflower oil)
240 ml warm water
Instructions
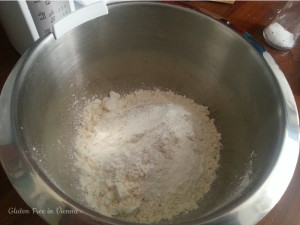
- Combine the bread gluten free flour with the baking soda and the salt in the bowl of a stand mixer. This is the easiest way to make the dough, but you can mix the ingredients with a wooden spoon and then mix them by hand. With the dough hook attached mix dry ingredients until well combined..
 Add oil and water with mixer running at a medium speed. Mix for 1 minute, stopping several times to scrape the sides of the bowl.
 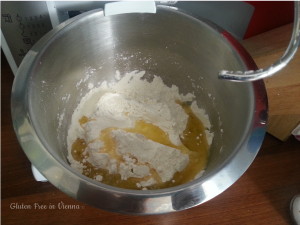 After about 1 minute, or when mixture comes together and begins to form a ball, decrease mixing speed to low.
 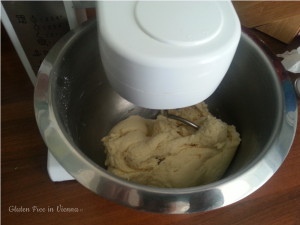 Continue to mix for 1 minute or until dough is smooth.
 - Transfer from mixing bowl to a well-floured work surface.
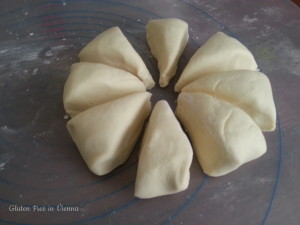
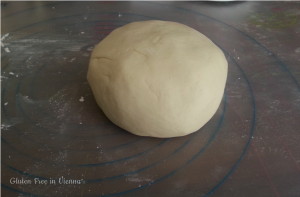 Divide dough in half, then in half again. Continue until you have 8 fairly equal portions for the big tortillas or 16 for the small ones.
  Form each piece into a ball and flatten with the palm of your hand as much as possible. If dough is sticky, use a bit more flour.
 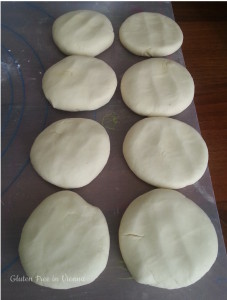 Cover flattened balls of dough with a clean kitchen towel or cling film and allow to rest for 15 minutes before proceeding.
 - After rest period, heat a large pan over medium-high heat. The best result you will probably have with a cast iron skillet, but we don’t have one so we use a nonstick one. Roll each dough piece into a rough circle, about 6-7 inches in diameter, keeping work surface and rolling pin lightly floured.
- When pan is very hot, place one dough circle into pan and allow to cook about 1 minute or until bottom surface has a few pale brown spots. The uncooked surface will begin to show a few little bubbles.
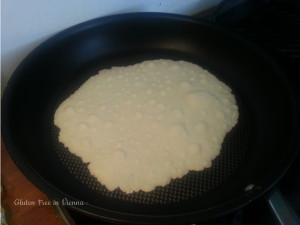 If tortilla is browning too fast, reduced heat a bit. If it’s taking longer than a minute to see a few pale golden brown spots on underside of tortillas, increase heat a bit. Flip to other side and cook for about 30 seconds. You want the tortilla to be soft but have a few small pale golden brown spots on surface.
 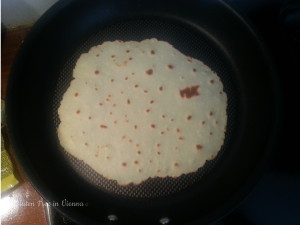 Remove from pan with tongs and stack in a covered container or zippered bag till all tortillas are cooked. This will keep them soft and pliable.
 - Wipe out the pan in-between tortillas if flour is started to accumulate.
- Serve warm or allow to cool for later use. When ready to use, place a slightly damp paper towel in the bottom of a container (with a cover) that will hold the stacked tortillas. Microwave, uncovered for 15-25 seconds (start with 15) or until warm, then cover to hold heat while serving.
- The tortillas will keep well stored in an airtight container or zippered bag at room temperature for 24 hours, in the fridge for a couple of days or can be frozen indefinitely. To freeze, separate tortillas with parchment paper or waxed paper and place in a zippered bag before placing in freezer.
I hope you like it. Please let us know how yours turned up and in which recipes you used them